How to Install Mods (and XVM) World of Tanks
| Category: | World of Tanks |
|---|
Every World of Tanks fan gets super excited when he downloads his best WoT mods. No wonder ― it is all about the anticipation of wonderful changes to the favorite game.
Anyways, not everyone knows what to do with a bunch of files next to staring at it in your download folder. So, one important thing still remains to be explained. Today we are going to give you instructions on how to install WoT mods.
Let’s put first things first. Right after you get the modification, you should take a look at its folder. There could be placed an installation instruction or ReadMe file, waiting for you to open and read. Why bother? Well, we do make a guide for you, but the truth is that sometimes certain mods need to be installed in a different way than usual.
If there is not, then just follow our instructions. It will work for the vast majority of mods.
The main principle lies in:
- copying folders from the downloaded archive to your /World_of_Tanks/mods// OR /World_of_Tanks/res_mods// directory ;
- creating new folders if needed;
- replacing the files.
Instruction video
You can see a more ample explanation below.
How to install new sounds
- Go to your game directory (e.g. C:/Program files/Games/World_of_Tanks or something like that)
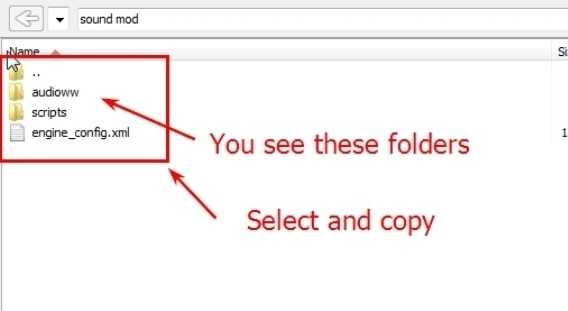
- Open mod archive, copy (and replace!) its files to /res_mods//.
Quick Guide
1. Download mod (archive rar or zip).
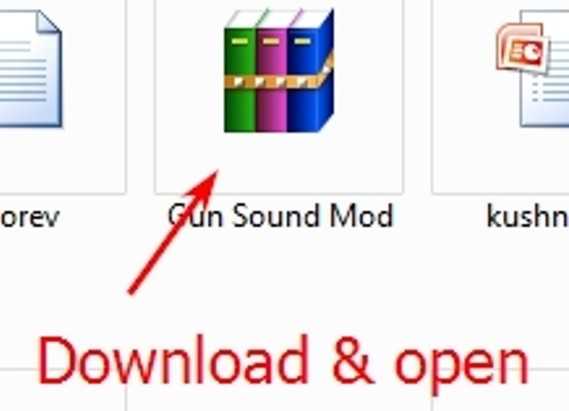
2. Open archive.
3. Go to res_mods
4. Go to //
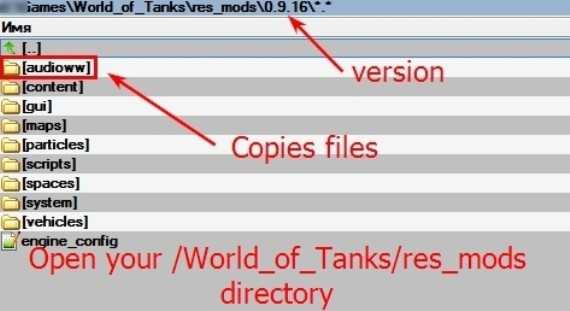
5. Paste the audioww, gui и scripts folders here and overwrite files if it asks.
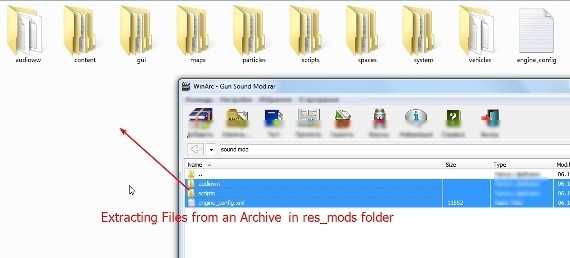
6. Done!
How to install new tank icons
Make sure you have downloaded the icons.
Simple way: Copy the “res_mods” folder to: “….\World of Tanks\”
OR
- Go to your game directory: there should be /res_mods and // (or another version) in it.
- First of all, create /gui folder, then /maps in it, then /icons in /maps, /vehicle in /icons and /contour in /vehicle. Don’t worry, it only looks complicated ― it is as easy as a pie in fact.
- Copy all the files from archive’s /contour to the analogous folder in your game directory you’ve just created.
- Go back to /gui, create another subfolder called /scaleform in it. Copy all the flash files there.
How to install new skins
We will use the IS-7 camouflage as an example.
- Go to your game directory: there should be /res_mods and // (or another version) in it.
- Create /vehicles subfolder in //
- Then make /russian one.
- In /Russian create a new subfolder /R45_IS-7 (from now on you should change this tank’s disguise only here).
- Copy .dds files there (except for tracks and decals, if there are some in the archive).
Got confused? Don’t worry, we have found a nice explanatory video for you. Just watch it!
Check out all the best mods for WoT on our website! Here you can download the latest version of every modification for free and via direct link!
